Root rot is not a diagnosis based on one yellow leaf. It is a description of roots that have died and begun to decay, often after long periods of low oxygen in wet potting mix. Fungi and water moulds may be involved, but the conditions around the roots usually explain why the problem gained ground.
Look for several clues together
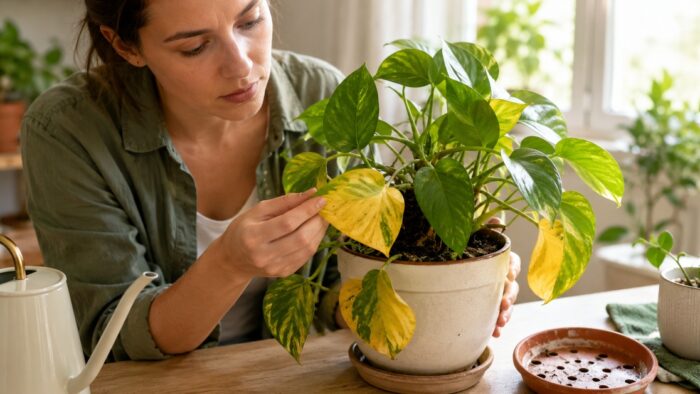
A pot that remains heavy for many days, a sour smell, sudden wilting in wet soil, blackened stem bases, and soft brown roots are stronger evidence than leaf colour alone. Healthy roots are commonly pale, cream, tan, or species-specific darker colours, and they feel firm. Some naturally fine roots can look brown without being rotten.
Decide whether to inspect the root ball
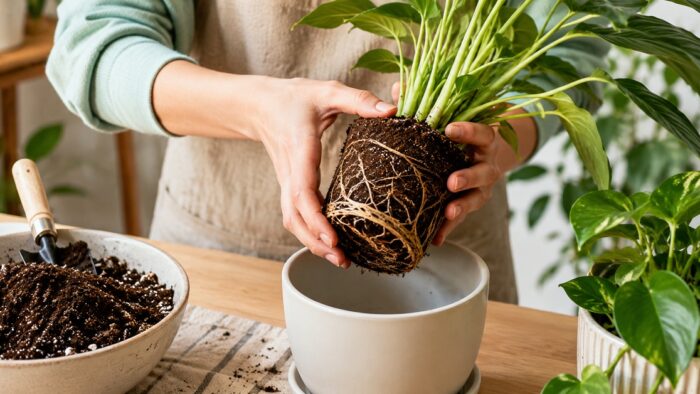
Do not pull a stable plant out of its pot every time a leaf drops. Root inspection makes sense when the plant declines rapidly, the mix does not dry, water collects inside a decorative cover, or the stem is loosening at soil level. Slide the root ball out gently and support the plant rather than tugging the stems.
Remove only tissue that is clearly dead
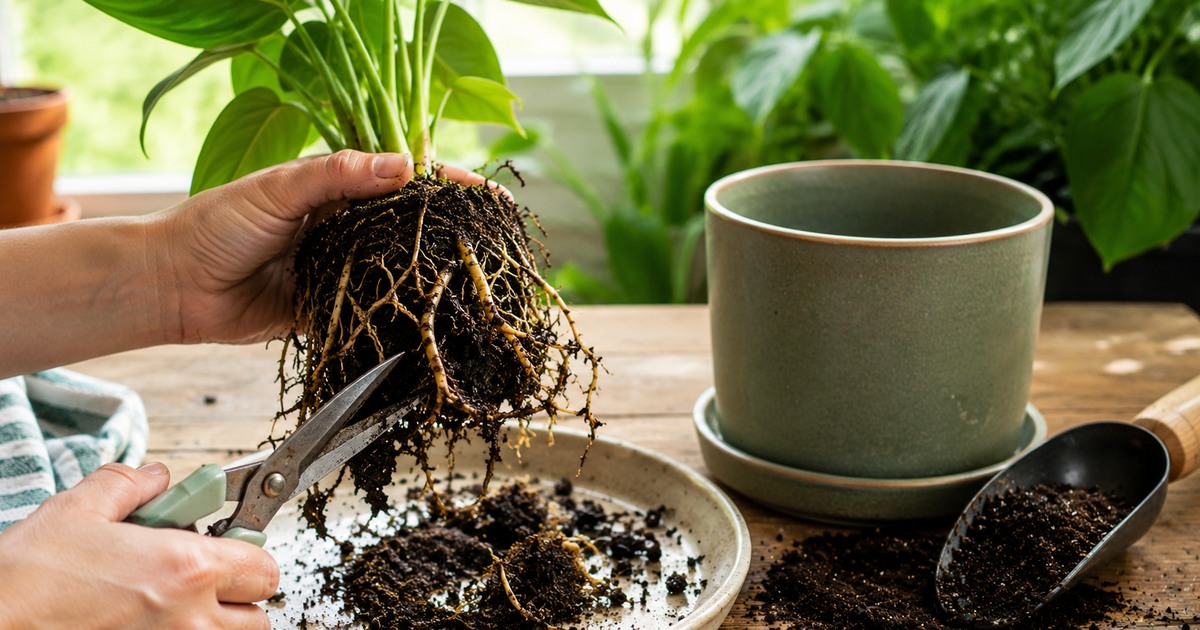
- Prepare a clean work surface and clean cutting tool.
- Brush or rinse enough mix away to see the roots.
- Cut roots that are mushy, hollow, foul-smelling, or separating from their outer layer.
- Keep firm roots, even if they are stained by potting mix.
- Clean the tool before using it on another plant.
Severe root loss may require reducing some top growth, but avoid stripping healthy leaves automatically. Leaves supply the energy needed to form new roots.
Choose a recovery pot, not a growth pot
Use a container only slightly larger than the remaining root system. An oversized pot holds a large volume of wet mix around a small plant. Fresh potting media should match the species while draining freely; the principles in the houseplant soil mix guide are a useful starting point.
Water once, then observe
After repotting, settle the mix with water and let excess drain. The next watering should be based on the plant, light, temperature, pot size, and depth of dry mix. Do not keep the surface wet because roots were recently cut. The habits in the watering guide help avoid repeating the original conditions.
Propagation may be the safer backup
If the stem base is rotting or few healthy roots remain, take a viable cutting above the damaged tissue if the species can be propagated that way. Use a clean method and a small container. Not every plant can be saved from advanced decay, and preserving a healthy cutting can be more realistic than keeping a collapsing root system.
Judge recovery by new growth
Old damaged leaves may continue to yellow. Watch for a firm stem, stable moisture use, and new roots or leaves over the following weeks. Keep light bright but appropriate, avoid routine fertiliser until active growth resumes, and resist making repeated changes every few days.
Root condition varies between species
Not every healthy root is bright white. Orchid roots may be green or silver, woody plants can have tan or brown roots, and fine-rooted plants may look darker than thick tropical roots. Texture, smell, and the integrity of the root covering are more useful than colour alone. Compare questionable roots with the firmest roots on the same plant.
Clean work prevents a second problem
Wash soil from the tool and disinfect it with a method suitable for the material before moving to another plant. Use fresh mix and a cleaned pot. If several plants share a water tray, separate them until the cause is understood. Do not reuse water that drained from an affected pot on the rest of the collection.
Recovery conditions should be calm
Place the repotted plant in bright, appropriate indirect light unless the species needs direct sun. Avoid a cold windowsill, hot vent, or constant handling. High humidity may reduce leaf water loss for some tropical cuttings, but sealing a whole plant in stagnant wet air can encourage other problems. Airflow and temperature should be stable.
What to expect during the next six weeks
- In the first days, leaves may remain limp because the reduced root system cannot support the old canopy.
- After one to three weeks, the pot should begin using water at a more predictable rate.
- New root tips or a small leaf are stronger recovery signs than an old damaged leaf staying green.
- If the mix remains wet, the stem softens, or odour returns, inspect the setup rather than adding fertiliser.
Plants that are poor candidates for rescue
A plant with a rotten crown, a hollow main stem, no firm roots, and no healthy node for propagation has a low chance of recovery. Keeping it beside healthy plants can also preserve pests or pathogens. Photograph the problem, discard the material responsibly, clean the area, and use the lesson to change pot size, drainage, or watering for the remaining collection.
Preventing the same conditions
Root rot is rarely prevented by one special ingredient. It is prevented by a combination of usable light, a pot that drains, media that holds both water and air, a root ball that matches the container, and watering based on drying rate. Seasonal changes matter: a pot that dried in four days during summer may take two weeks in winter.
Houseplant root rot: quick answers
Can a houseplant fully recover from root rot?
Yes, if enough healthy root tissue remains after trimming away rot and the plant gets calm, appropriately moist recovery conditions.
How soon should new growth appear after treatment?
Visible new growth is the clearest recovery sign and often appears within the next six weeks, though this varies by species.
Is repotting always necessary after root rot?
Usually, yes – into fresh mix and a recovery-sized pot, since the original mix and any leftover rot organisms can cause a repeat problem.