A first vegetable garden succeeds or fails before the first seed goes into the soil. The most important decisions are where the garden sits, how much sun it receives, how water will reach it, and whether you start with crops that match your time and space.
Sun, access, and water decide more than size
Vegetables are more demanding than many ornamentals because they need enough energy to make edible leaves, roots, flowers, or fruit. Most productive crops need at least six hours of direct sun, and fruiting crops such as tomatoes, peppers, cucumbers, and squash usually perform better with more.
Plan the garden before buying plants
Begin with a small sunny area, improve the soil before planting, choose easy crops, and make watering simple. A tidy 4-by-8-foot bed that you can care for is better than a large plot that becomes a weed patch by midsummer.
Small choices that improve the first season
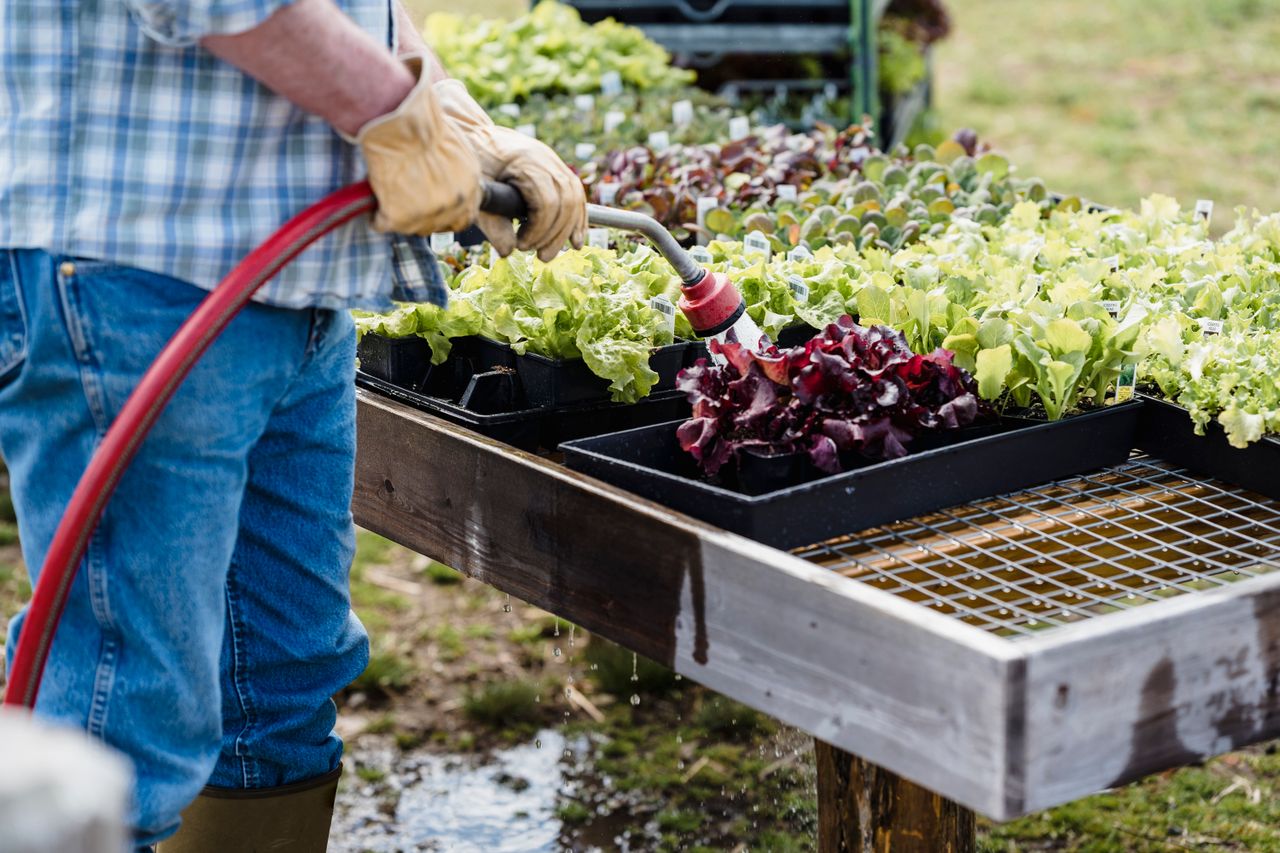
Water access is not glamorous, but it is one of the strongest predictors of follow-through. A nearby hose saves hundreds of trips.
Mulch reduces soil splash, keeps moisture more even, and slows weeds once seedlings are established.
Beginner gardens benefit from transplants for tomatoes, peppers, basil, and many brassicas because seedlings need close attention.
Direct sow beans, peas, radishes, carrots, and lettuce where they will grow because they are inexpensive and establish quickly.
Leave room for mature plant size. A tomato seedling looks harmless in May and can occupy several square feet by July.
From empty ground to the first planting
- Choose the sunniest practical location before thinking about bed shape. Watch the area for a full day because trees, fences, and buildings can cast moving shade.
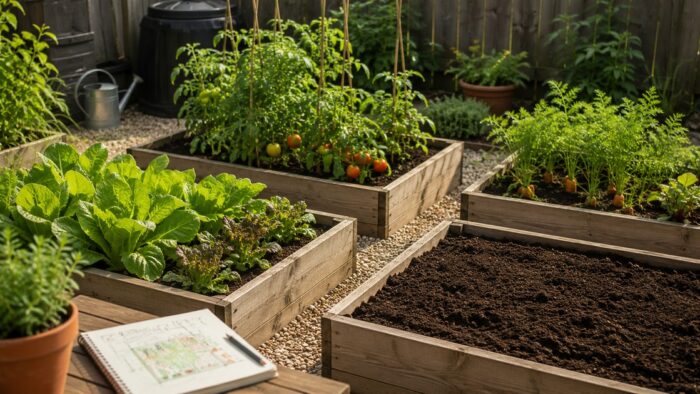
- Decide whether you will garden in the ground, raised beds, or containers. Use raised beds where soil drains poorly or is compacted.
- Test or inspect the soil. A formal soil test is best, but even a simple texture check helps identify sand, clay, or loam.
- Plan paths wide enough to kneel or carry a watering can. Crowded gardens look productive on paper but become hard to maintain.
- Start with dependable crops such as lettuce, beans, radishes, bush tomatoes, herbs, and zucchini if you have space. Add harder crops after one season of success.
A useful first-season target
Instead of trying to grow every vegetable you enjoy, choose three or four crops with different harvest habits. One quick crop, one long-season crop, one herb, and one repeat-harvest green will teach more than a crowded bed. Radishes or lettuce show results quickly, tomatoes reveal the value of support and steady watering, and herbs reward regular cutting.
Keep some space unplanted. Empty ground gives you room to resow a failed row, add a late-season crop, or correct drainage without disturbing everything else. A first garden should leave enough time to notice what the site is teaching you.
When seedlings stall or beds stay wet
Leggy seedlings need more light. Pale growth may mean low fertility, but check watering and temperature before adding fertilizer. Chewed leaves require identification, not panic; many seedlings can outgrow minor damage.
A sensible starter kit
For a first garden, spend money on compost, a sturdy hose, a hand trowel, pruners, labels, and mulch before buying decorative accessories. If you use raised beds, choose untreated rot-resistant lumber, metal beds, or food-safe containers with good drainage.
Beginner errors that create extra work
- Starting too large and losing control of weeds.
- Planting fruiting vegetables in partial shade and blaming the variety.
- Ignoring soil preparation because bags of fertilizer seem faster.
- Planting everything on the same day instead of staggering quick crops for a longer harvest.
Map the first season before buying supplies
A rough sketch can prevent several first-year problems. Mark the sunny area, the nearest tap, paths wide enough to walk through, and where tall crops might shade shorter ones. Then list only the crops your household will use. This simple map helps you decide whether an in-ground plot, containers, or a small raised bed is the better starting point.
If bending, compacted soil, or poor drainage is a concern, compare the options in the raised-bed gardening guide. For a garden farther from the house, plan watering before planting. A basic line and timer from the drip irrigation setup can be easier to maintain than carrying cans during hot weather. Start with fewer crops than the bed can hold; empty space is easier to fill than an overcrowded garden is to rescue.
First-garden questions
How big should my first vegetable garden be?
A 4-by-8-foot raised bed or a few containers is enough to learn planting, watering, weeding, and harvesting without becoming overwhelming.
Do I need a soil test?
A soil test is highly recommended because it shows pH and nutrient levels instead of leaving you to guess. It can prevent over-fertilizing.
What vegetables are easiest for beginners?
Lettuce, bush beans, radishes, cherry tomatoes, zucchini, basil, parsley, and cucumbers are good starting points when matched to sun and space.
Can I start a garden without a yard?
Yes. Containers, grow bags, balcony planters, and small raised beds can grow herbs, lettuce, peppers, compact tomatoes, strawberries, and greens.