Composting is not complicated, but it is often explained in a way that makes beginners nervous. A working compost pile is simply a managed mix of carbon-rich materials, nitrogen-rich materials, air, and moisture. When those basics are balanced, microbes do the heavy lifting.
A pile is a living process, not a rubbish heap
Compost improves soil by adding organic matter, helping sandy soils hold moisture, and improving structure in heavier soils. It is not a magic fertilizer and should not be used as the only growing medium for most plants, but it is one of the best long-term investments in a garden.
Compost needs air, moisture, and a useful mix
Build a pile or bin with more browns than greens, keep it as damp as a wrung-out sponge, turn it when possible, and avoid meat, grease, pet waste, diseased plants, and persistent weeds. Compost is finished when it looks dark, crumbly, and earthy.
Balancing fresh and dry materials
A 3-by-3-by-3-foot pile holds heat better than a small decorative bin, but small bins still work if expectations are realistic.
Shredded materials compost faster because microbes have more surface area to work on.
Too many grass clippings can mat together and smell, so mix them with leaves or shredded paper.
Finished compost should not contain recognizable food scraps or smell rotten.
Use compost as a soil amendment, top dressing, or mulch component, not as a complete substitute for potting mix.
Building the first pile
- Choose a convenient location near the garden but not pressed against a wooden wall or fence.
- Add browns such as dry leaves, shredded cardboard, straw, and small twigs.
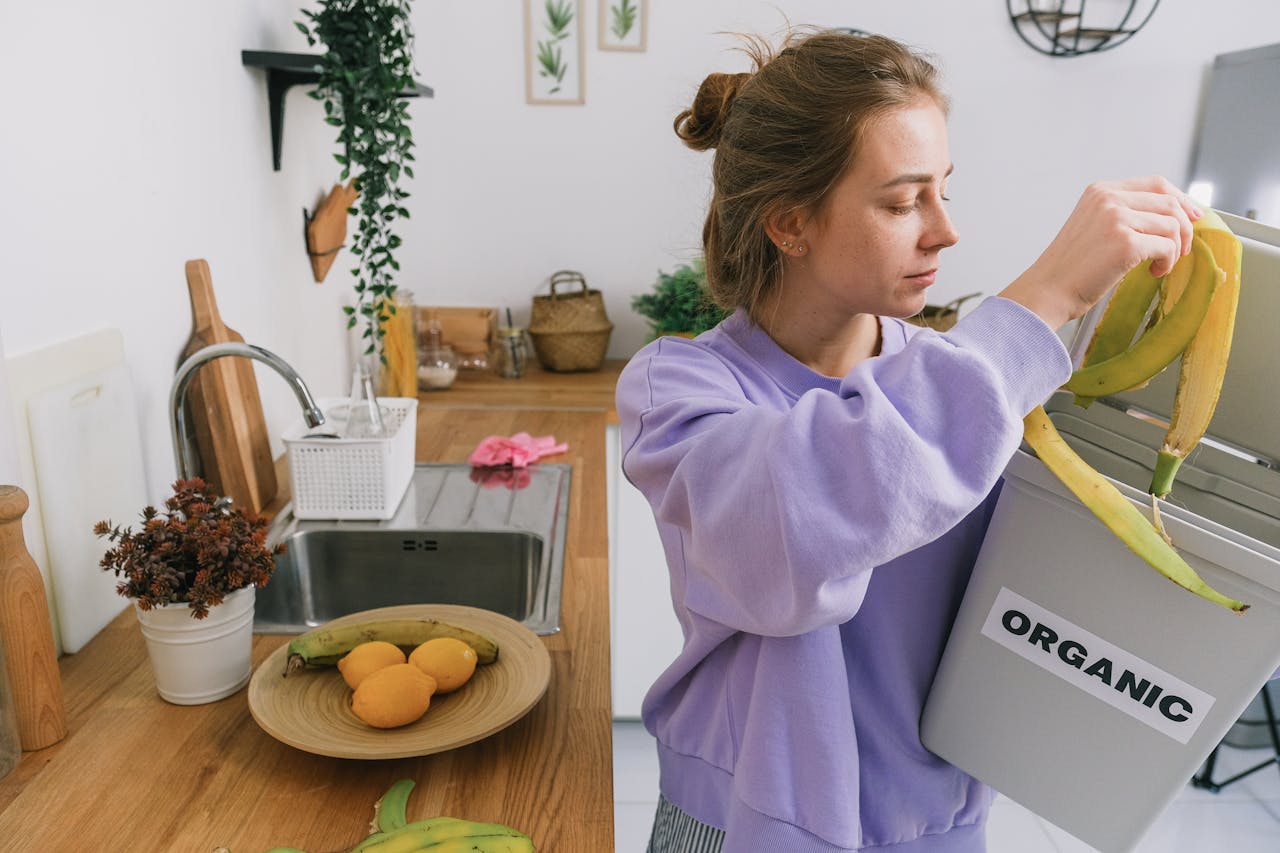
- Mix in greens such as vegetable scraps, coffee grounds, grass clippings, and fresh plant trimmings.
- Keep the pile moist but not soggy. Add browns if it smells or greens if it stays dry and inactive.
- Turn the pile to add air and speed decomposition, or let a slower cold pile break down with less effort.
Knowing when compost is ready
Finished compost no longer resembles the original kitchen scraps and leaves. It should be dark, crumbly, and earthy, with no sour or rotten smell. A few woody pieces are normal and can be screened out or returned to the next pile.
Do not rush unfinished material into seed-starting mix or tightly packed containers. Active compost can continue to break down, draw oxygen, or release nutrients unevenly. Use mature compost as a soil amendment or surface layer, and blend it with existing soil rather than treating it as a complete growing medium.
Fixing a wet, dry, or inactive pile
A smelly pile usually has too much nitrogen or water; add browns and turn it. A dry pile that does nothing needs moisture and greens. Ants often mean the pile is too dry. Fruit flies can be reduced by burying scraps under browns.
Bins, forks, covers, and thermometers
A compost bin does not need to be expensive. Choose one that is easy to access with a fork or shovel. A kitchen scrap container with a lid, a garden fork, and a supply of dry leaves are often more useful than a complicated tumbler.
What causes smell, flies, or slow breakdown
- Adding meat, bones, dairy, grease, or pet waste to a home compost pile.
- Letting food scraps sit uncovered, which attracts flies and animals.
- Making the pile too wet and airless.
- Expecting cold compost to finish in a few weeks.
How finished compost should behave
Finished compost usually looks dark and crumbly, smells earthy, and no longer heats strongly after turning. A few woody fragments are normal. Large amounts of recognisable food, a sour smell, or a hot centre suggest the material needs more time. Screen out unfinished pieces if you need a fine top-dressing and return them to the next pile.
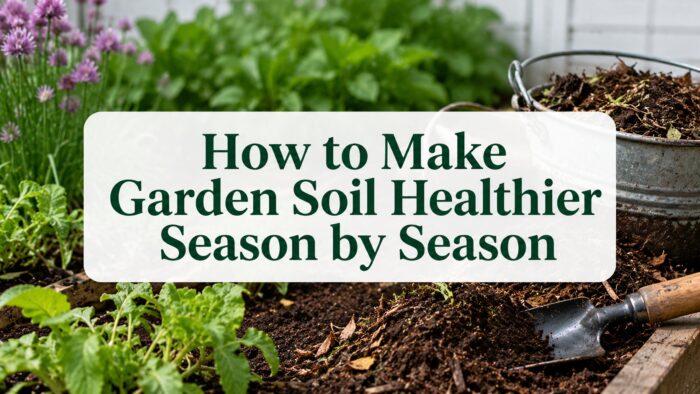
Use mature compost as an amendment rather than filling a whole container with it. Garden beds benefit from a modest layer mixed into or left on the surface, while potting mixes need ingredients that maintain air space. The seasonal approach in the soil health guide shows how compost fits alongside mulch and testing. The new guide on checking compost maturity covers simple bag, smell, and temperature tests in more detail.
Composting questions
How long does compost take?
Active, well-managed compost may finish in a few months. Cold piles can take six months to a year or longer.
Can I compost weeds?
Avoid weeds with mature seeds and persistent roots unless you know your pile gets hot enough to kill them.
Do I need a compost starter?
Usually no. Soil, finished compost, and garden debris already contain microbes. Balance and moisture matter more.
Can compost burn plants?
Unfinished compost can tie up nitrogen or contain compounds that bother seedlings. Use mature compost around young plants.